DESK GUIDE / Organize your desk
Order of organizing study desk, dividing space for notebooks and storage of stationery
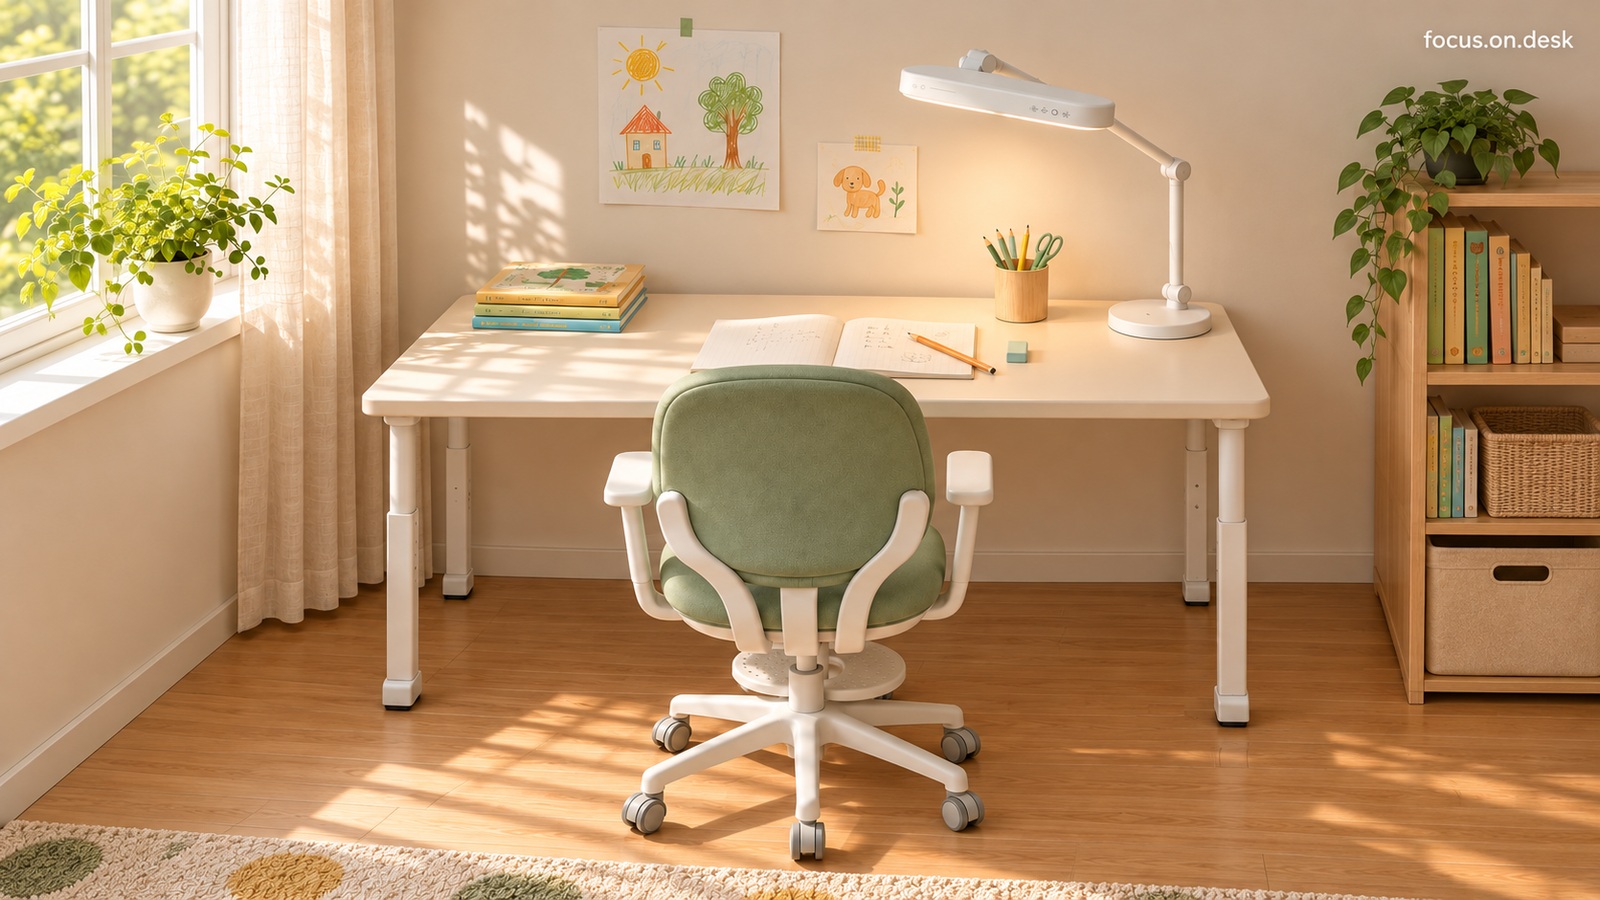
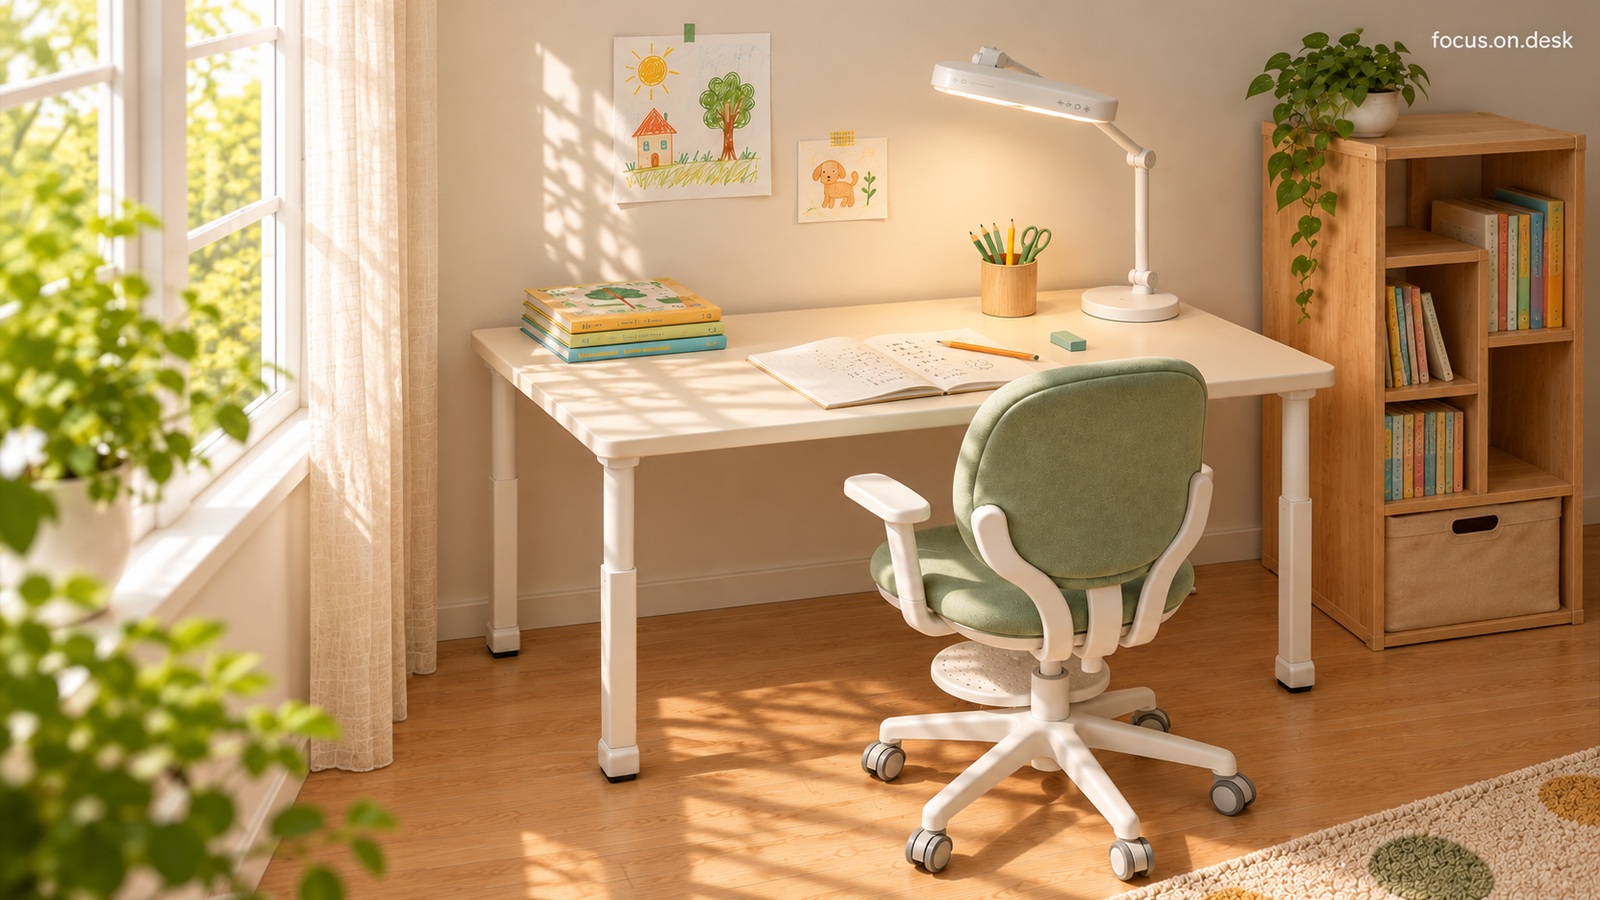
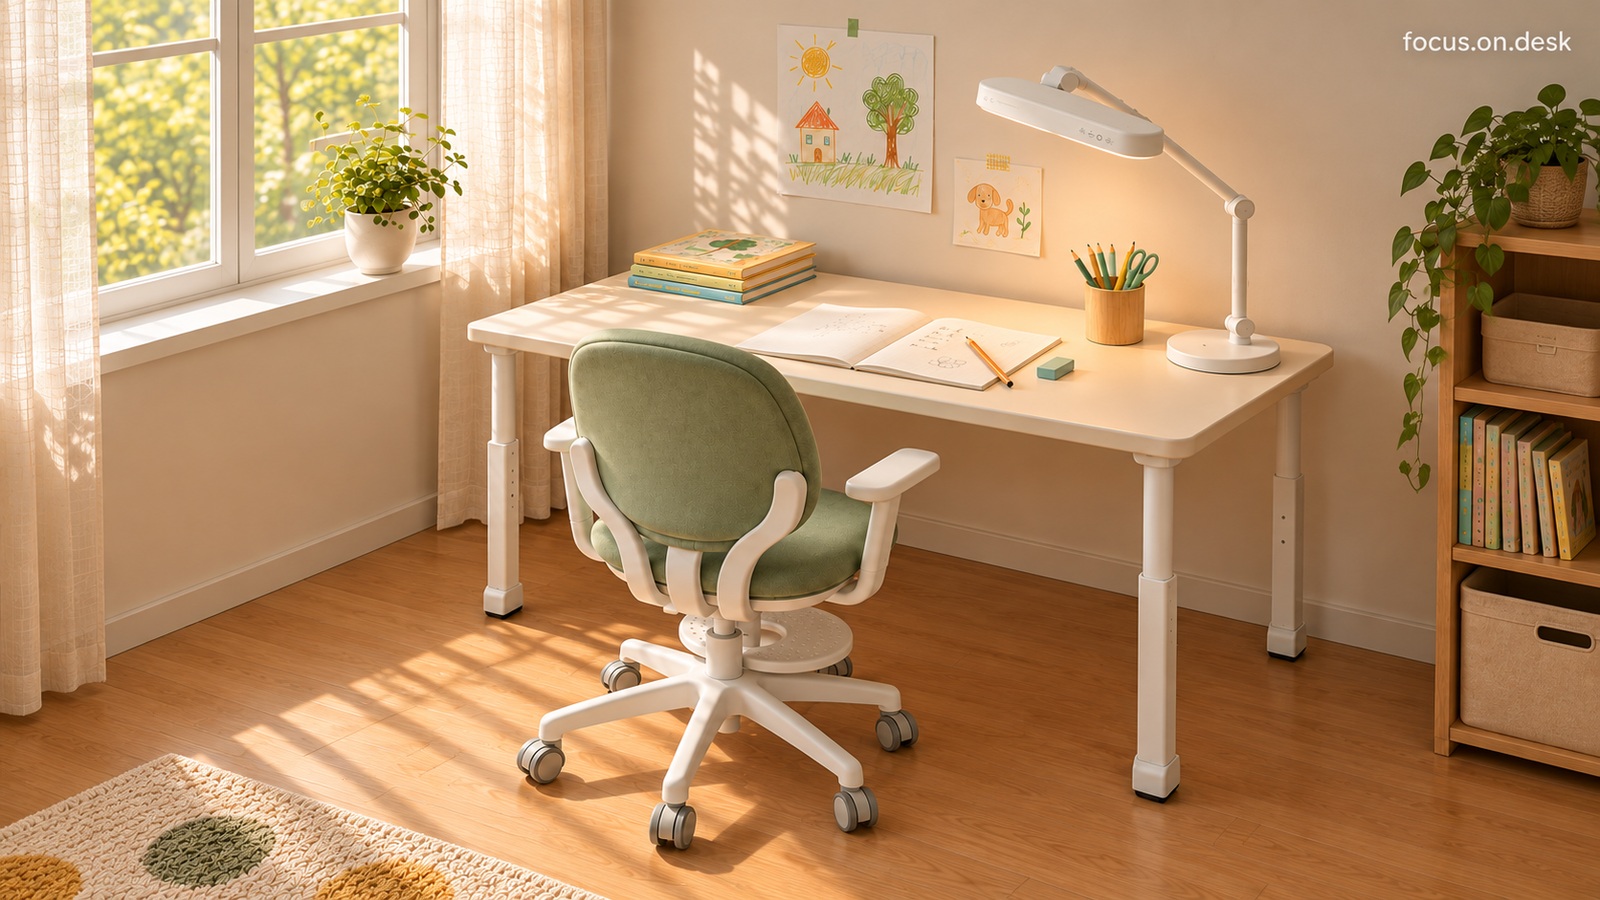
Organizing your study desk can start with unfolding your notes and textbooks before filling the storage boxes. Using a study room with a cream-colored desk and a green chair as an example, we organized the order of checking the range of paper, the position of the writing instrument, the picture and lighting, and the movement of the chair.
1. Unfold the paper before placing the decorations
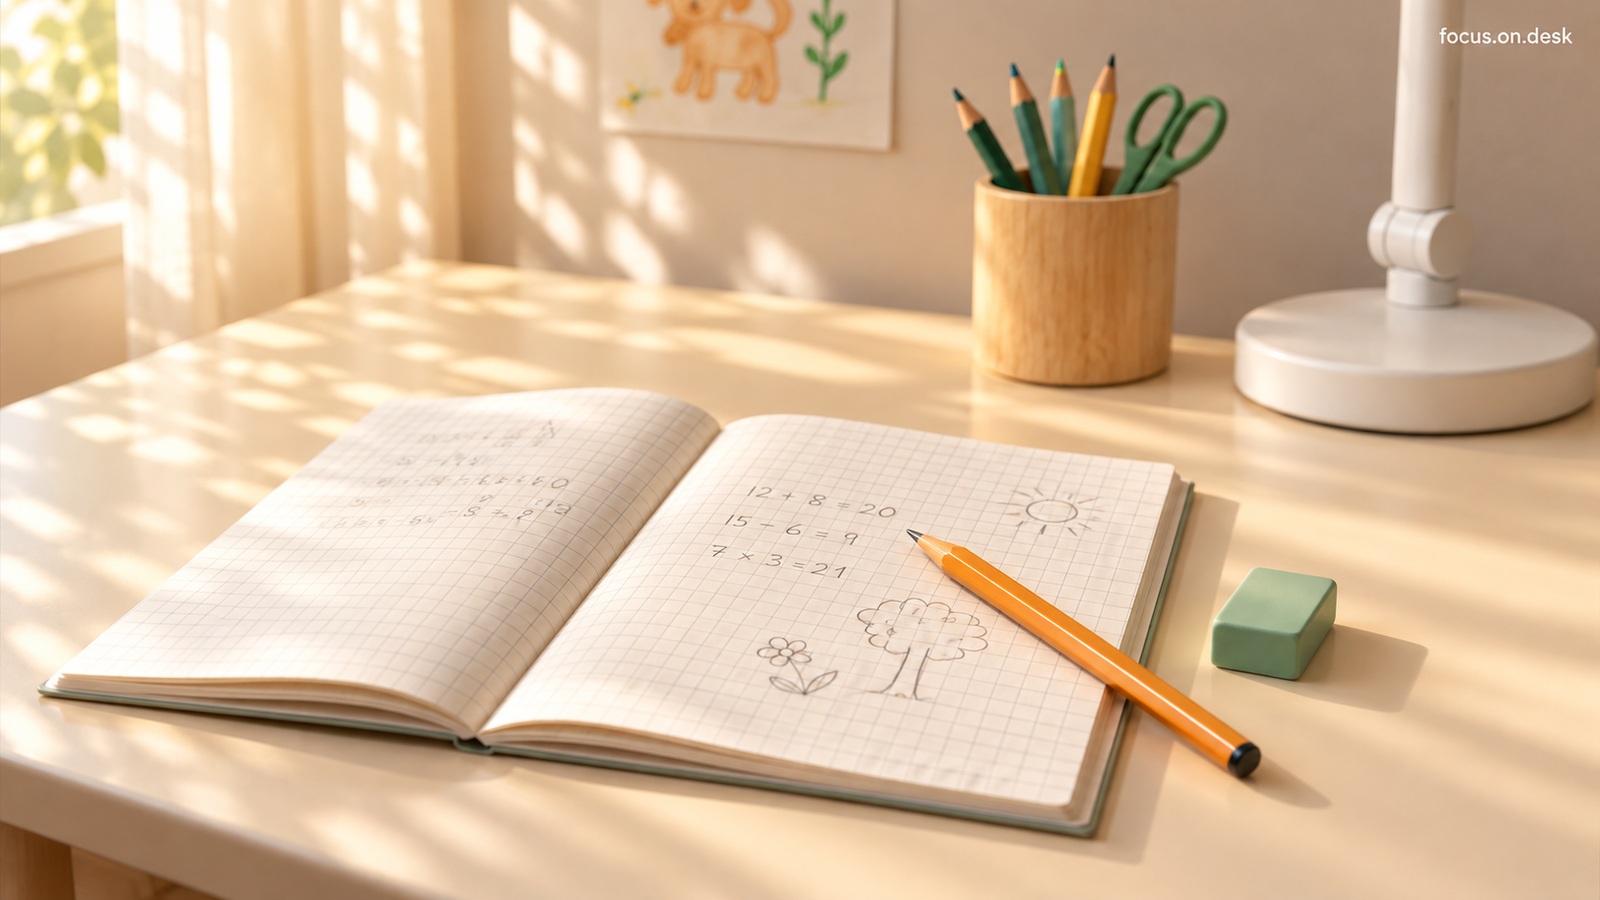
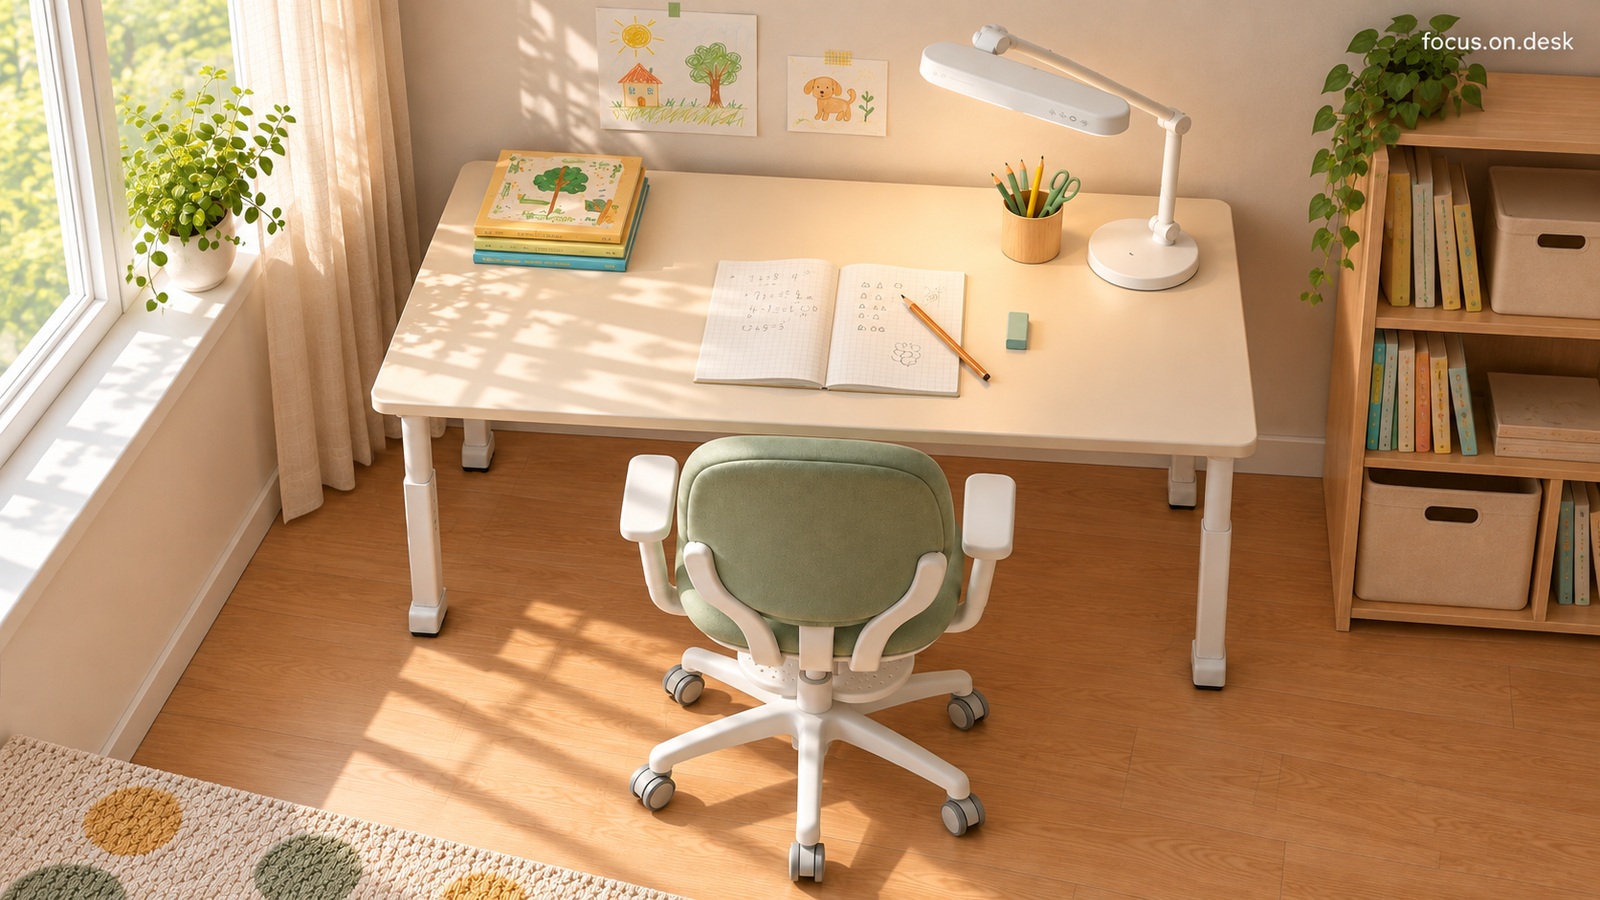
The area required is different when only the notebook is placed and when the textbook is spread out. Place the combination you usually use on desktop and check whether it gets caught on something when you turn the page or turn the paper. There is no need to estimate a few cm cream-colored margins in the photo. The footprint of my tools is the starting point for organization.
Like the note in the photo, distinguish between days when you only use one book and days when you use both textbooks and notebooks. I usually post the widest combination, then flip through the pages and write. Getting into a desk and not bumping into other objects during activity are two different conditions.
At this time, simply draw the work surface you want to leave on a piece of paper and it will serve as a reference when putting the stationery box back. If you have to fold a book to take out a pencil or have to move a flower pot while turning a piece of paper, you need to change the position of the prop.
2. tool determines where to return after use
If you place the pencil and eraser in a different place every time, small items will spread to desktop. Collect frequently used writing utensils in one container and books to be read that day in one container. In the photo, the book is on the left and the stationery box is on the right, but the positions can be changed depending on your writing hand and habits.