DESK GUIDE / Placement Guide
Black desk decorating guide, wood shelf, lighting, and mat placement 5 steps
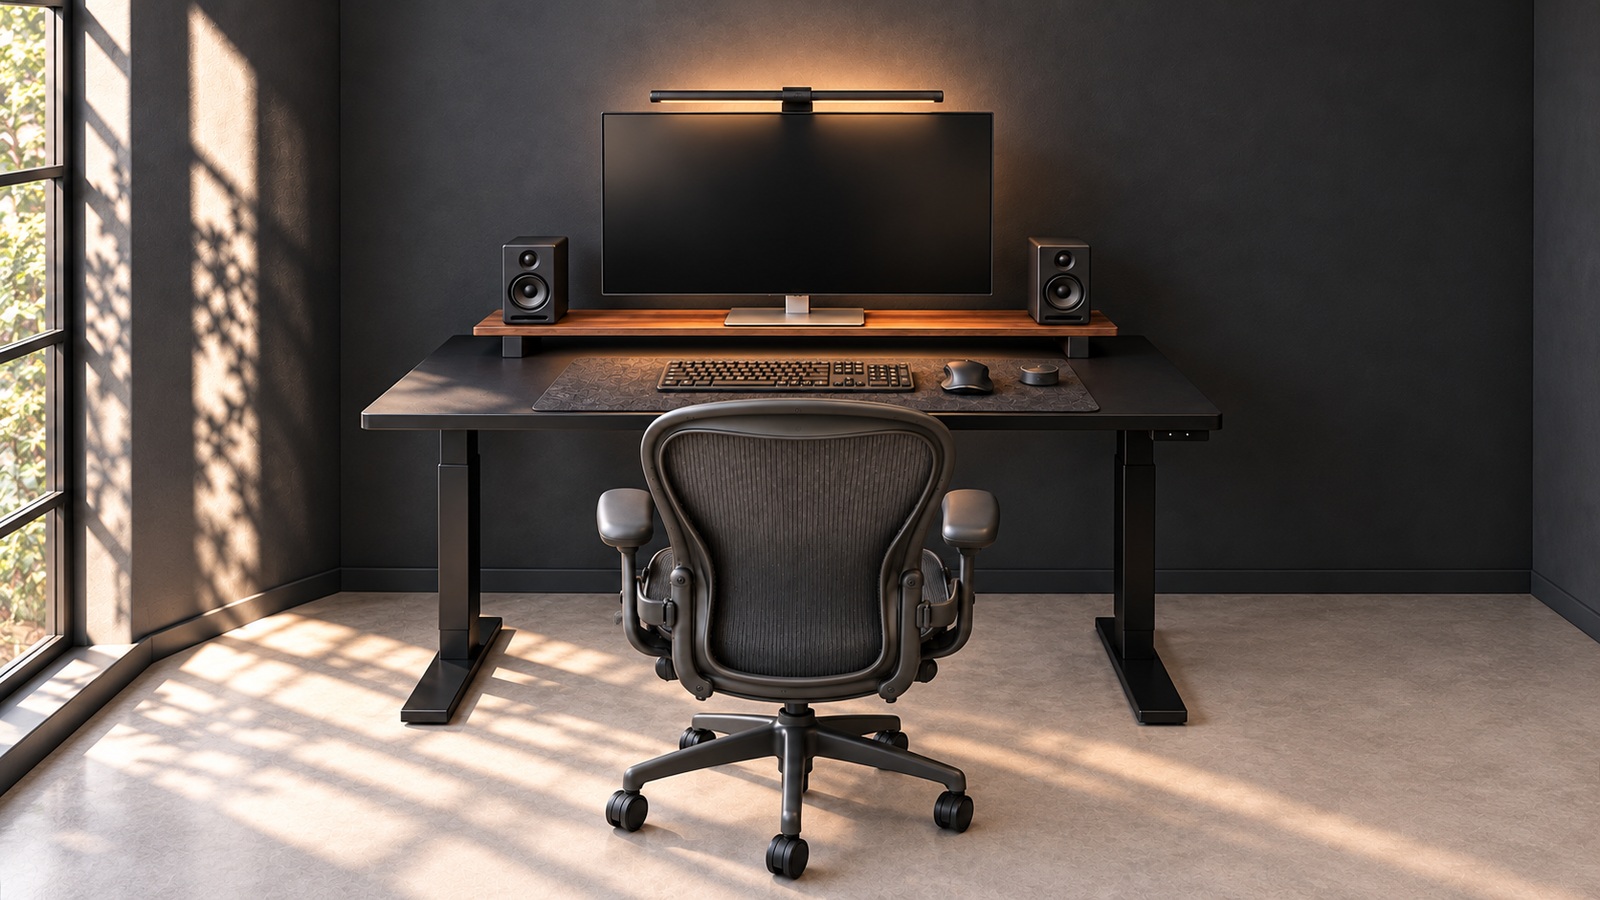
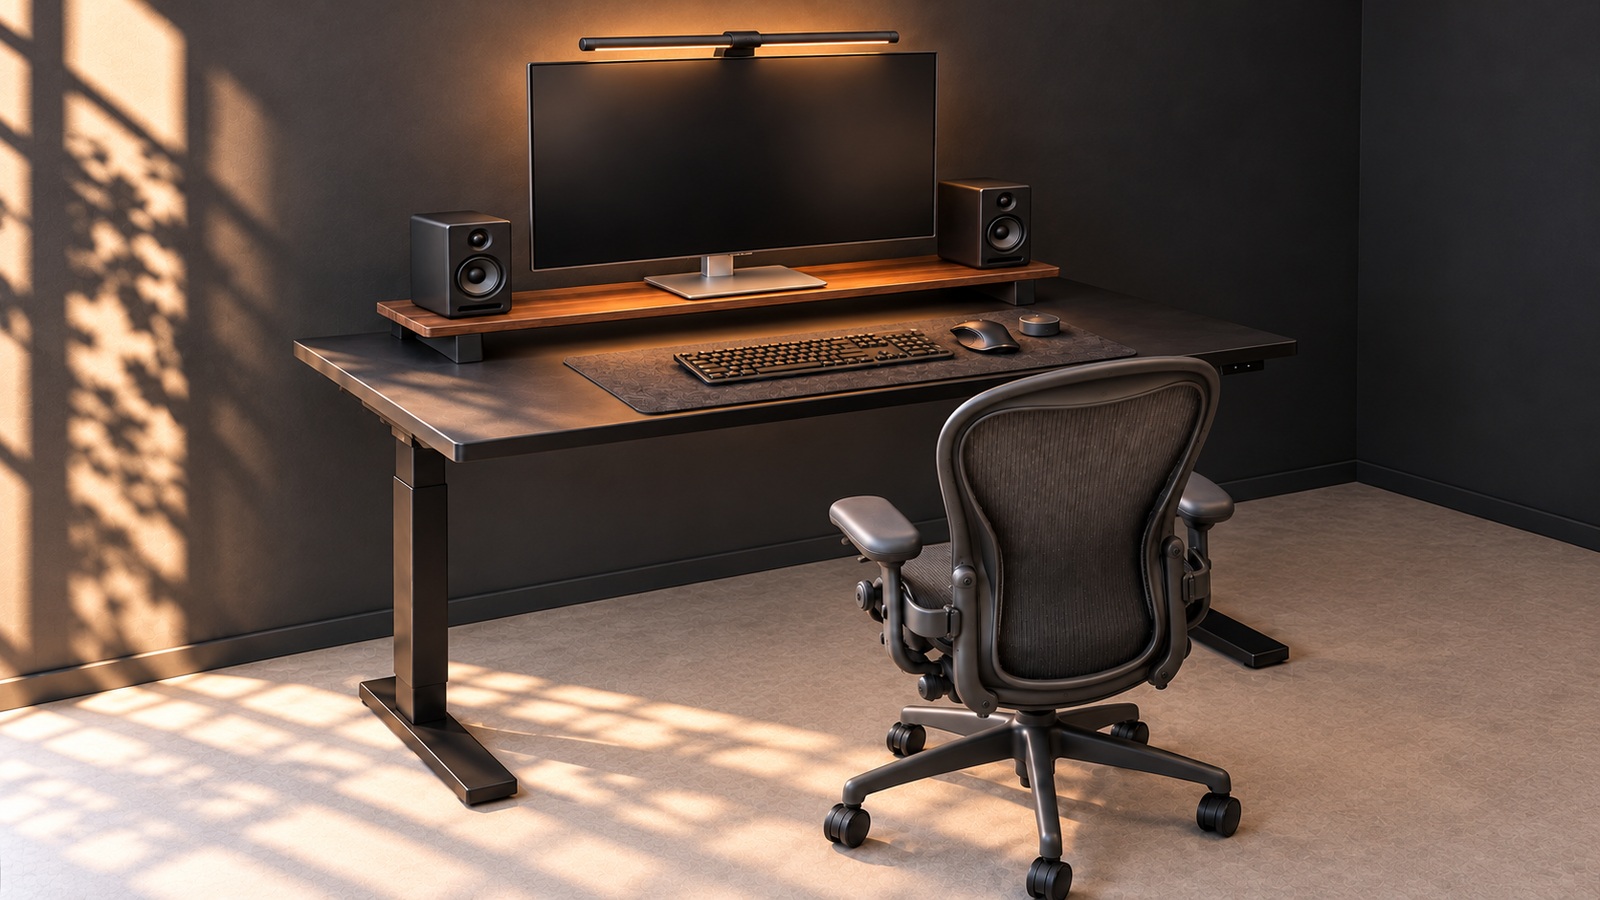
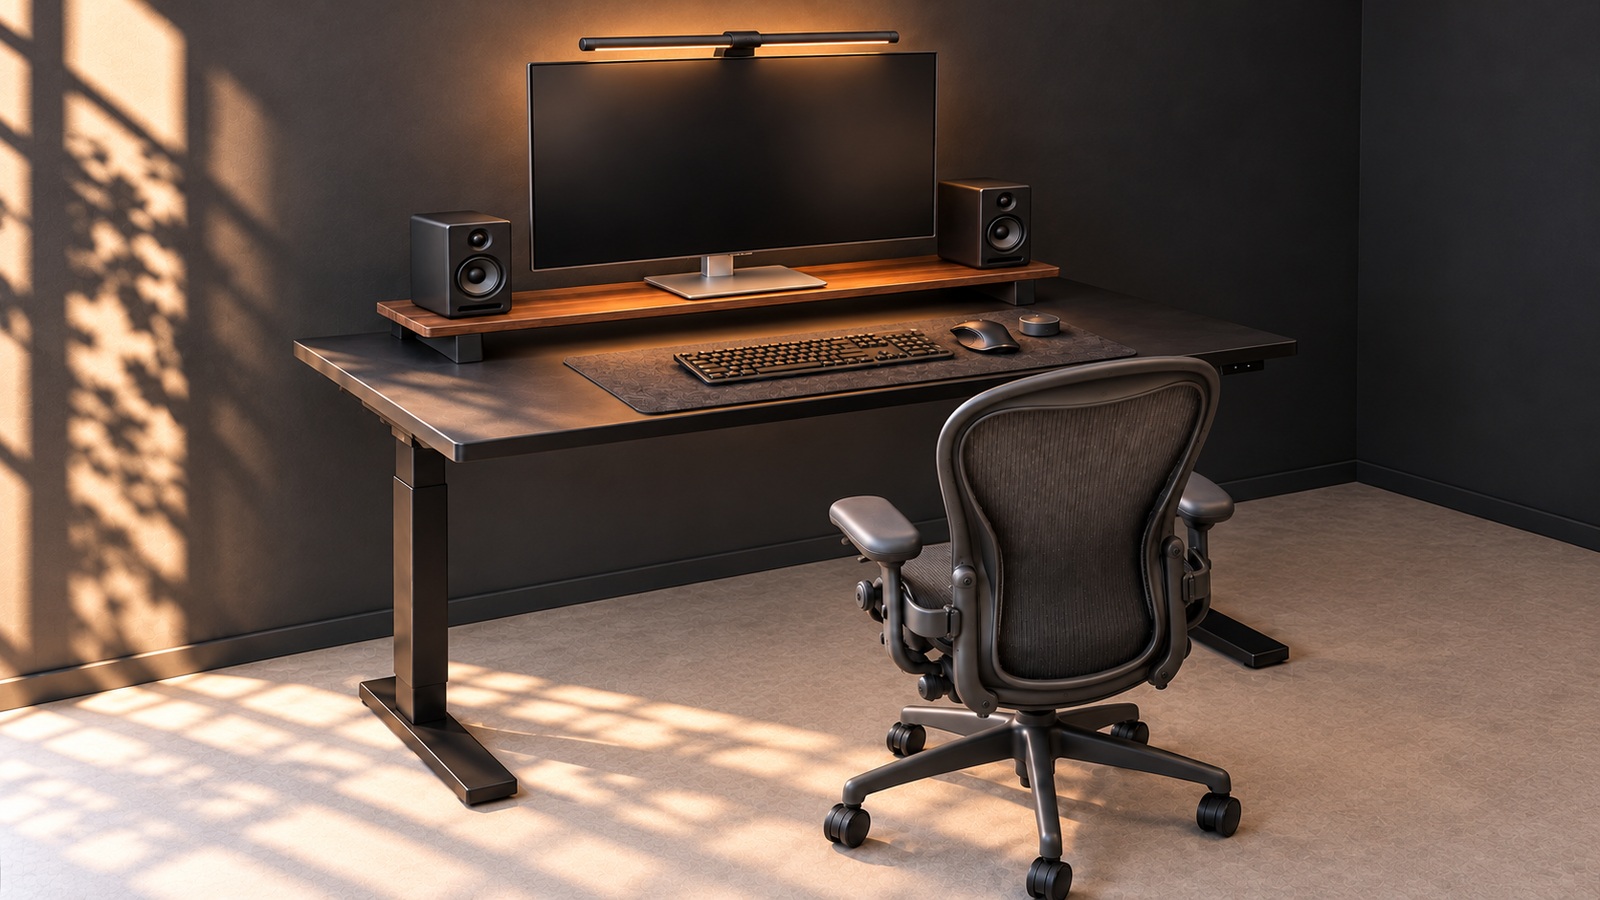
If your black desk seems stuffy, take a look at the light and white space before changing everything. Using the black desk and wood shelf in front of the charcoal wall as an example, we have summarized five steps to adjust the movement of the equipment behind, tools on the mat, screen reflection, and chair.
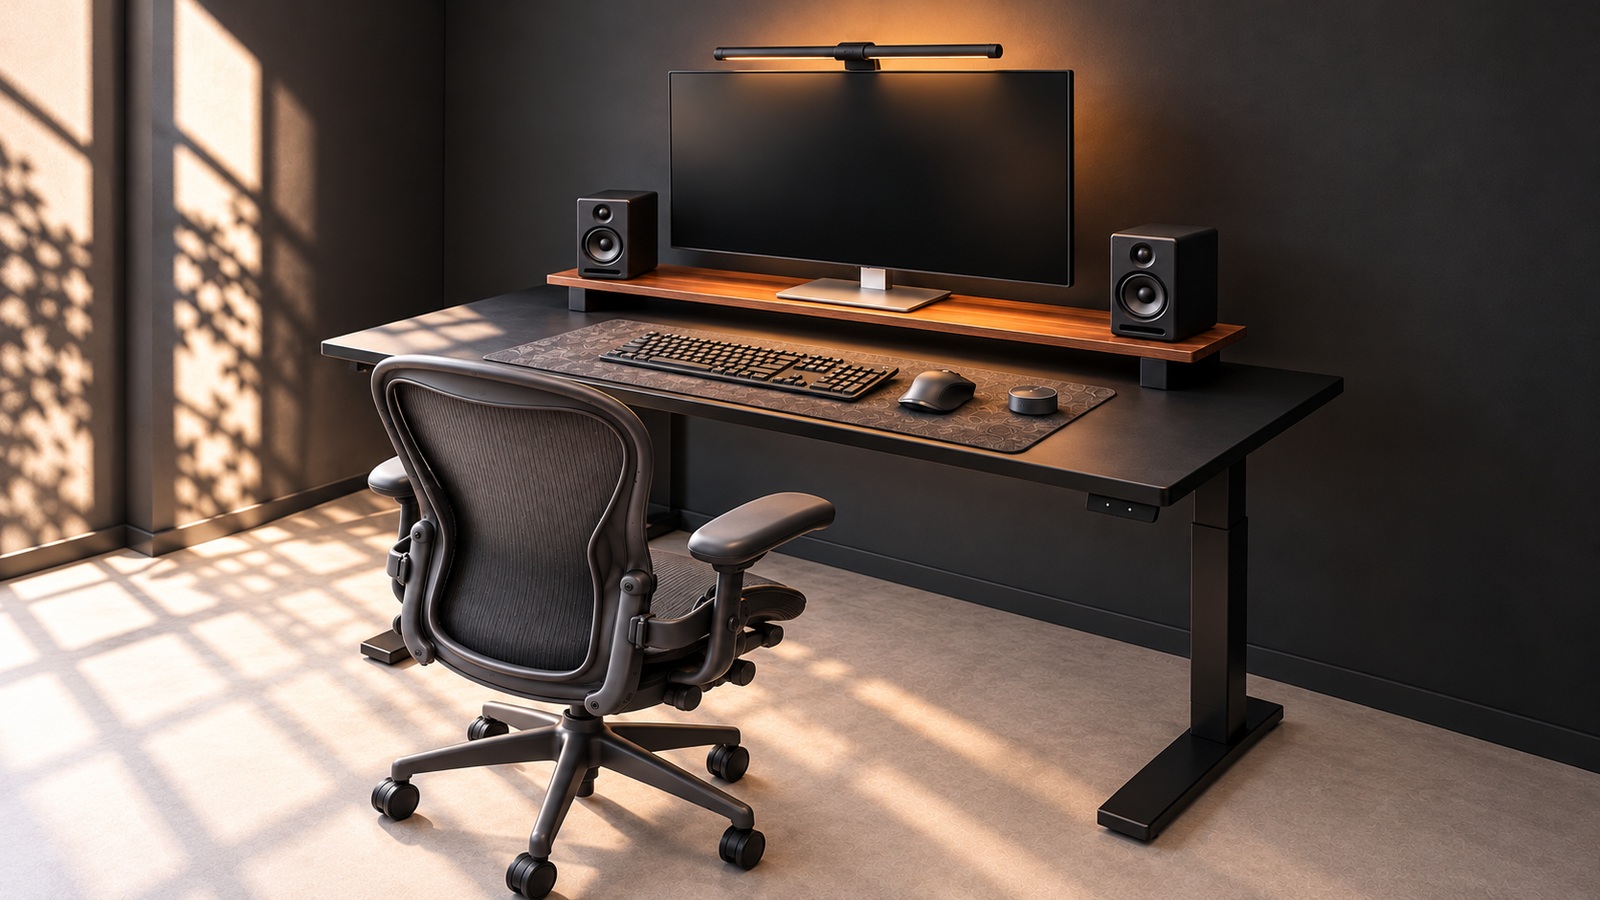
The steps below start with rearranging the items you have. The dimensions in the photo and actual lighting performance have not been confirmed, so please check and apply it yourself at your own desk.
1. Divide the background and points first
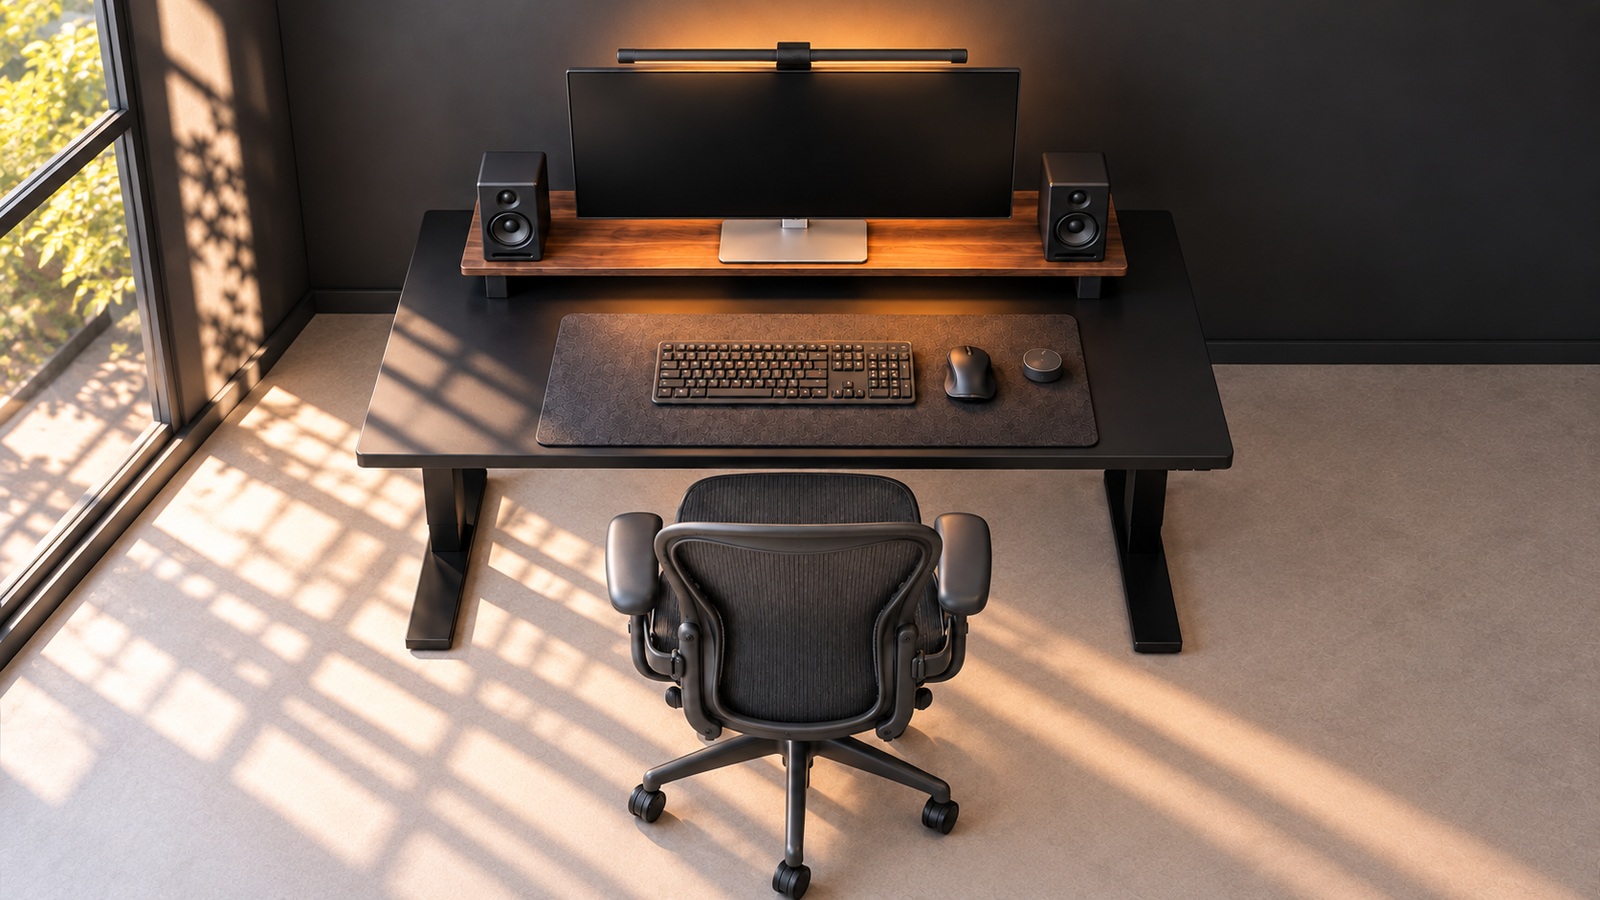
Look at the big colors you see on your desk. If you already have a lot of black screens, keyboards, and chairs, you can use that color as the base and group the wood tones in one area. In the photo, the rear shelf does that.
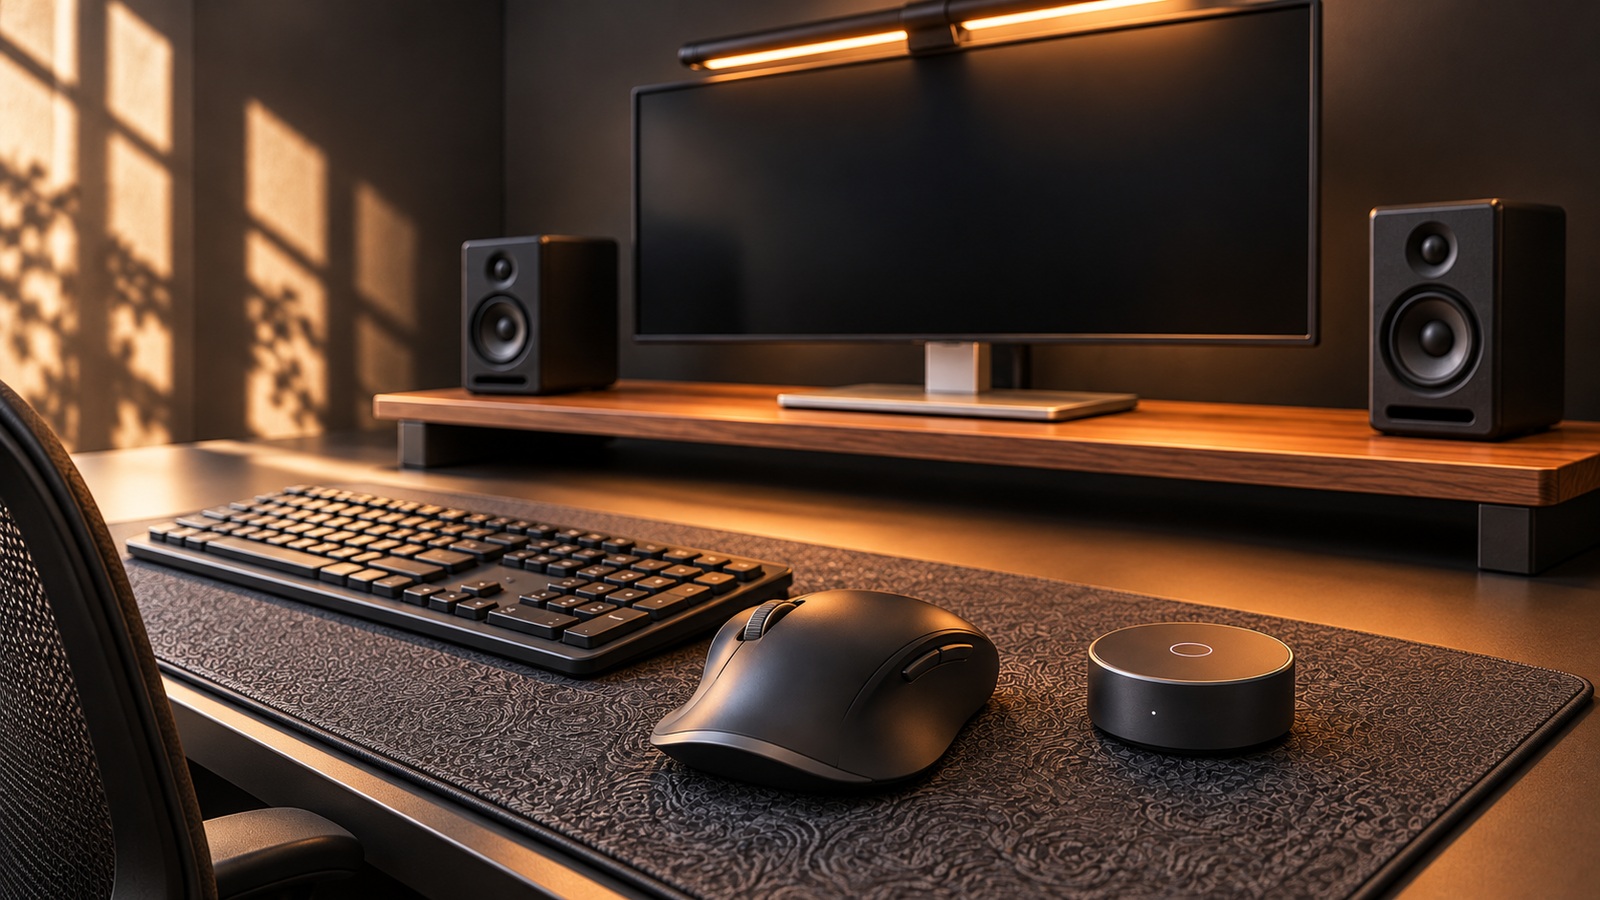
Rather than matching all small items to the wood color, decide on just one aspect you want to change. It is a good idea to compare your current items to see if you need a wide mat to cover the desktop or if a small stand is enough.
In the photo, the wood goes into the long side under the monitor, not the entire desk. This is an example of a center being created by adding just one different material between black devices. Look at the large color of desktop, the wall, and the chair first and decide where to place the small wooden items.
You can also take pictures of the items you currently have in the same spot and then add just one candidate prop. If you observe what major aspects have changed rather than adding points, the changes needed in your space will become clearer.